Drawing Supplies for Beginners: What You Actually Need
You do not need fancy supplies to learn how to draw. Seriously. Some of the best drawings in the world were made with a cheap pencil and a scrap of paper. But walking into an art supply aisle can feel overwhelming — hundreds of pencils, dozens of paper types, and prices that make you wonder if you need a second job. Here is the truth: beginners need very little. This guide covers exactly what to buy, what to skip, and how to spend wisely.
The absolute essentials (start here)
A pencil: HB or #2
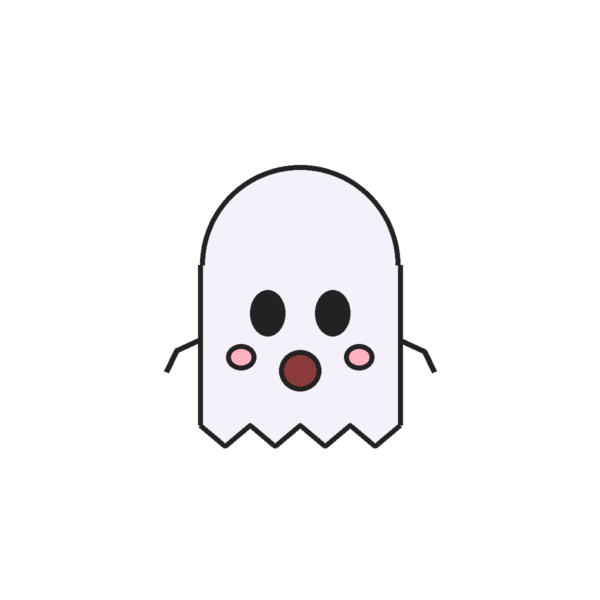
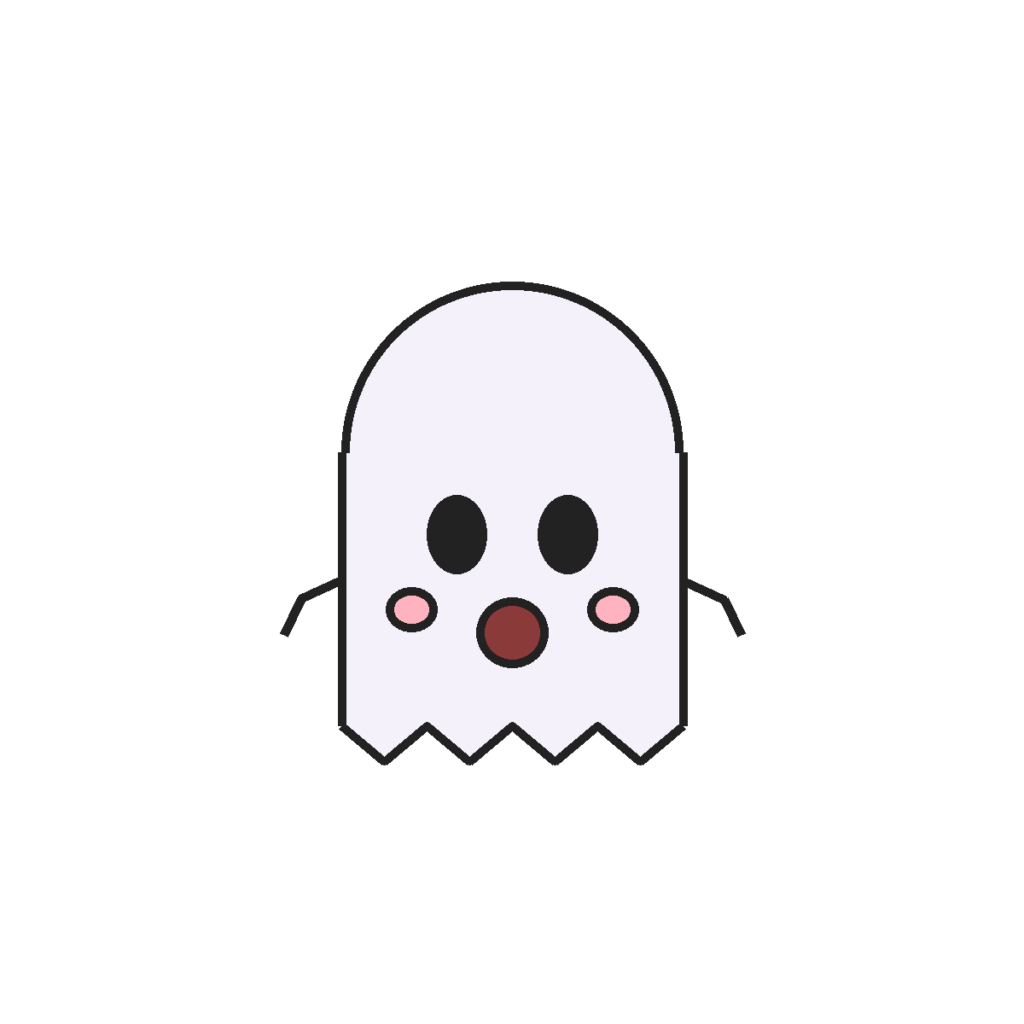
One regular pencil is enough to start. If you want a tiny upgrade, grab a small set of graphite pencils (HB, 2B, 4B, 6B) — they cost just a few dollars and give you light, medium, and dark lines. The softer the pencil (higher B number), the darker and smudgier the line. For following DrawCub tutorials, an HB pencil is perfect. Try the How to Draw a Ghost tutorial with a 2B pencil and see how smooth your lines feel.
Paper: plain printer paper is fine
You do not need a fancy sketchbook on day one. Regular white printer paper (copy paper) works great for practice — it is cheap, smooth, and you will not feel guilty “wasting” a page on a wobbly drawing. When you are ready for a sketchbook, look for one labeled “mixed media” or “drawing” with at least 70 lb (110 gsm) paper so markers do not bleed through.
An eraser: get a kneaded one
Skip the pink eraser on the end of your pencil — it tears paper. Buy a kneaded eraser (the soft, putty-like grey one). It lifts graphite gently without damaging the paper, never leaves crumbs, and lasts forever. It costs about a dollar and is the single best upgrade a beginner can make.
A pencil sharpener
A sharp pencil gives you clean, controlled lines; a dull one gives you mush. A simple handheld sharpener with two holes (standard and large) is all you need. Sharpen often — it genuinely changes how your drawings look.
Nice to have (buy these second)
- Fine-tip black pen or marker — for tracing over your finished pencil drawing to make clean outlines. A 0.5mm fineliner is the classic choice.
- Colored pencils (12-pack) — the cheapest way to add color. They are forgiving, blendable, and do not bleed through paper.
- A ruler — handy for gift boxes, houses, and anything with straight edges.
- A blending stump — a little paper stick for smoothing shading. Optional, but fun for animal fur and shadows.
What NOT to buy (yet)
Art stores love selling beginners things they do not need. Save your money:
- Expensive professional markers — alcohol markers are wonderful, but they cost a lot and bleed through thin paper. Learn with colored pencils first.
- Huge pencil sets (48+ pieces) — you will use four pencils and ignore the rest. A 6- or 12-piece set is plenty.
- Specialty papers — watercolor paper, toned paper, and textured paper are for specific techniques you are not doing yet.
- Electric erasers and fancy gadgets — fun, but a kneaded eraser does the job for a dollar.
- “Drawing kits” with 100+ pieces — mostly filler: low-quality pastels, tiny paint pans, and charcoal you will never touch.
A beginner budget that works
Here is a starter kit that covers everything above for roughly $10–15:
- Graphite pencil set (6-pack) — ~$4
- Kneaded eraser — ~$1
- Handheld sharpener — ~$2
- Fine-tip black pen — ~$2
- 12-pack of colored pencils — ~$5
- A ream of printer paper — you probably already own this
That is it. That kit will carry you through your first hundred drawings — including every tutorial on DrawCub.
One last tip: take care of the basics
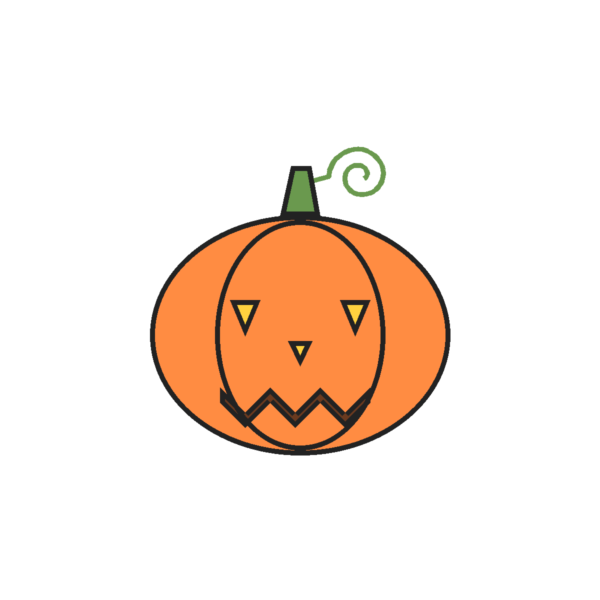
Store pencils flat or upright (never toss them loose in a bag where tips snap), keep your eraser in a little pouch so it does not pick up dirt, and date your sketchbook pages. In three months you will flip back and be amazed at how far a simple pencil took you. Try it today: grab that HB pencil and follow the How to Draw a Pumpkin tutorial. Great supplies help, but showing up is what makes an artist.